
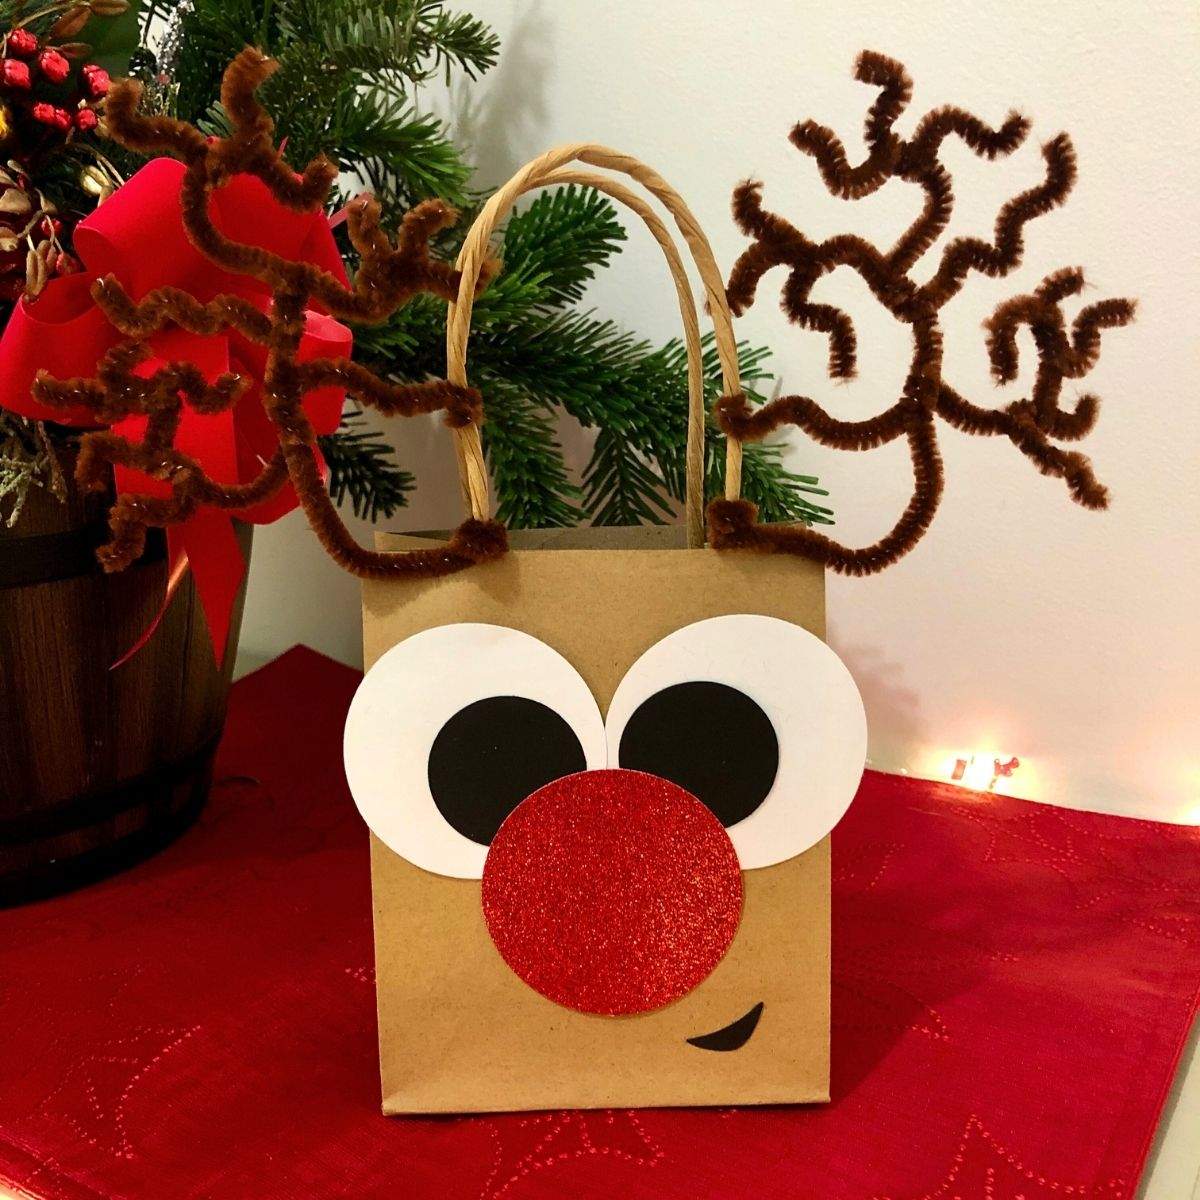
Make your own CUTE DIY Reindeer Gift Bags with this simple guide. They’re an easy, fun, kid-friendly Christmas craft and the perfect handmade Christmas gift bag idea.
This post contains affiliate links. This means, if you click a link and make a purchase, I may earn a small commission at NO extra cost to you. I appreciate any and all support! <3
These DIY Reindeer Gift Bags were one of the BEST sellers in my etsy shop - Love Mischka. Each year, I made SO many. They were also one of my favorite items to make. They're so easy, quick, and adorable.
I recently switched to only printable items in my shop, so I wanted to show people how to make these adorable DIY Reindeer Gift Bags on their own. For PERSONAL use ONLY.
Please do not make these bags and sell them on etsy (or anywhere else online).
I still love to use these as my DIY Christmas bags. And people seem to love receiving gifts in them.
Sometimes, I think people like the homemade gift bags more than the actual gifts inside! 😂
Homemade Reindeer Bags
These DIY Reindeer Gift Bags are simple, but ADORABLE! They were inspired by these DIY Reindeer Candy Canes.

And now you can make a Pretzel Rod Reindeer too with this easy Christmas Pretzel Rods Recipe!
For more easy Christmas crafts, check out:
- DIY Cinnamon Salt Dough Ornaments (No Applesauce)
- DIY Paw Print Ornaments
- How to Make Salt Dough Ornaments (and Handprints)
- Free Christmas Bingo Printable
I would show you the very first reindeer paper bag craft that I made in 2013… but, it’s a bit embarrassing. I was on the right track though! I sent it to my old roommate who lives in Spain. She adored it.
I will show a photo from the early etsy shop days though!

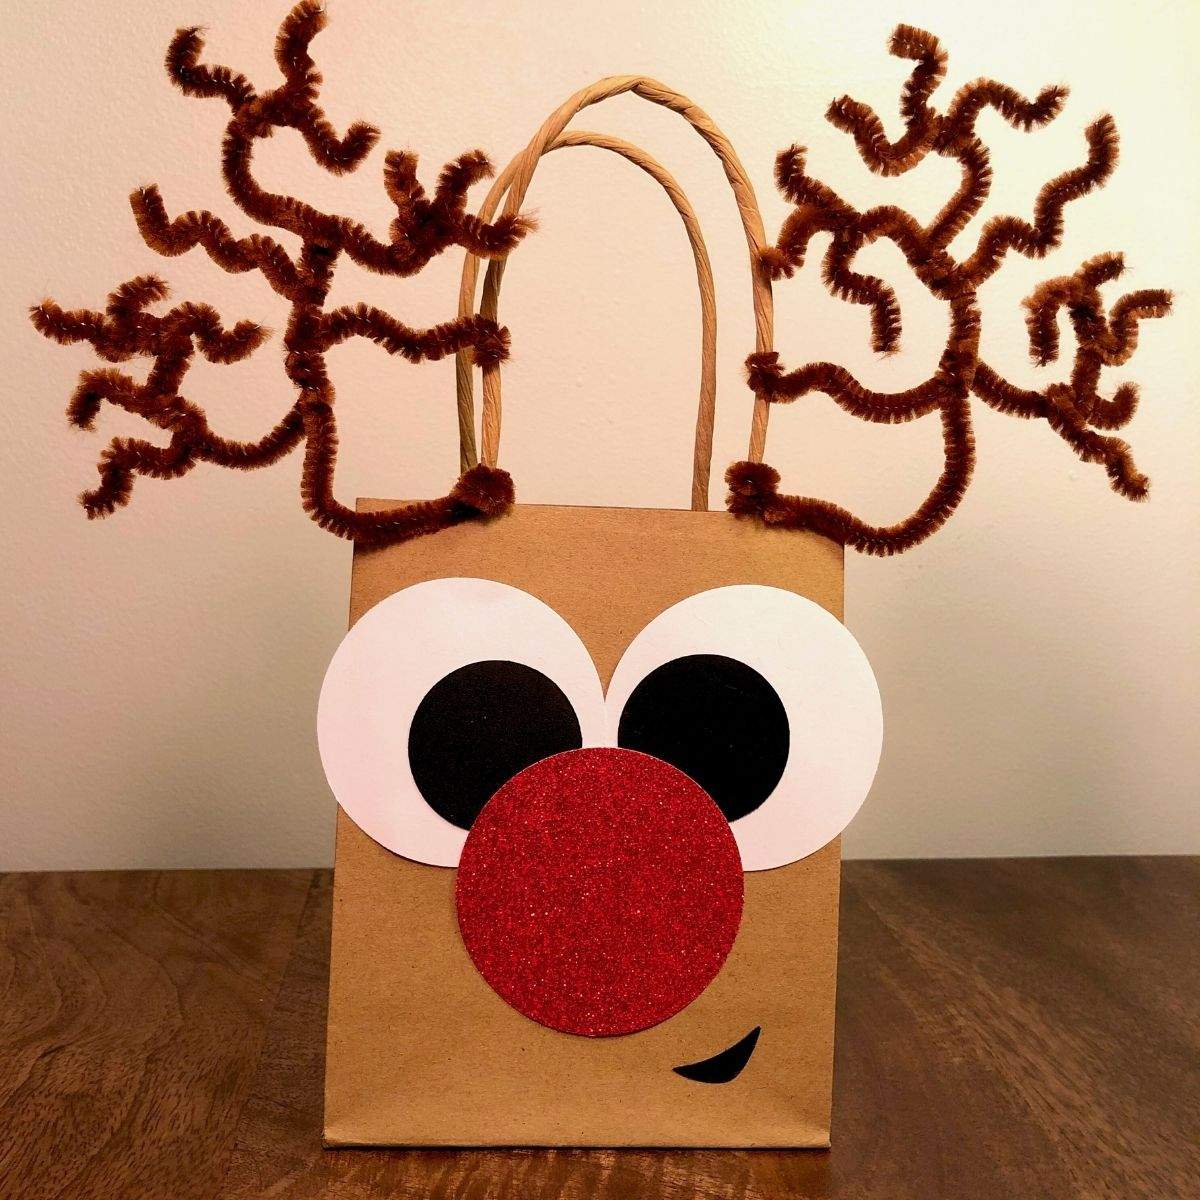
This DIY guide will show you how to make the most recent, and cutest, design.
Materials
This reindeer brown paper bag craft uses simple items that are easily available online.
The materials can also be used while making other crafts and bags, like these DIY Printable Goodie Bags.
Brown Paper Bags
This DIY craft will work on any sized kraft paper bag.
I usually use one that measures 4.5" x 2" x 5.75”. Unfortunately, this size is incredibly hard to find. I actually regret designing all the bags in my shop at this size because only one retailer seems to carry it. I am not going to recommend them because the quality of the bags has DRASTICALLY diminished. EVERY bag in the pack has been falling apart. I waste SO much time putting them back together. It’s incredibly frustrating. I found a different brand on Amazon!!!! Fun Express - Brown Paper Gift Bags are the same sized bags that I use for all my goodie bags.
These Brown Paper Bags With Handles - 4.5 x 2.5 x 6 Inch Kraft Gift Bags are slightly bigger, but super close in size.
Red Glitter Cardstock
This is available on Amazon - Bright Creations Glitter Cardstock Paper. But, it's usually cheaper at Michaels. You can also use the link before to save even more.

Cardstock Paper in White & Black
I use Astrobrights/Neenah Bright White Cardstock. It's high quality, bright, and durable.
And Neenah Paper Astrobrights Colored Cardstock is my favorite for the color black.
Glue and/or Double-Sided Tape
I’m obsessed with these Fullmark Adhesive Rollers. I use them on most of my orders. They stick very, very well. Unfortunately, they are no longer available... anywhere.
But, this ½" Ultra-Thin Permanent Double-Sided Tape still is!

Brown Pipe Cleaners
I use ones that are about 12 inches long. eBoot Pipe Cleaners tend to shed less when cut.
I have used other brands that just fall apart. Fuzz everywhere. I have to keep trimming the bare wire. Then the little wire bits magnetize to my laptop charger. It's a mess.
The eBoot Pipe Cleaners are the better ones though.
Tools
Helpful tools that make it even easier to make these homemade gift bags.
Scissors
Unfortunately, my absolutely favorite pair of scissors - Martha Stewart Precision Scissors - are no longer for sale anywhere.
These Fiskars Orange-Handled Straight Detail Scissors are very similar though. They help to cut perfect, precise lines.
2.5 inch Hole Puncher
This is to quickly and easily cut perfect circles for the reindeer's Rudolph nose and the white parts of its eyes.
I use EK Tools Large Punch - Circle 2.5".
1.5 inch Hole Puncher
This is used to quickly and perfectly cut the black parts of the reindeer's eyes.
I use EK Tools Large Punch - Circle 1.5".

How to Make Homemade Gift Bags
These directions are for ONE Reindeer Goodie Bag. If you want to make more, just repeat the steps for each additional bag.

Cut the Circles
Use the 2.5 inch hole puncher to cut two circles out of a sheet of white cardstock.
Use the same hole puncher to cut a 2.5" circle out of the red glitter cardstock for a Rudolph nose.
Punch out two circles from a sheet of black cardstock with the 1.5 inch hole puncher.

Cut out the Mouth
Sketch the tiny black mouth, seen below, then cut it out with scissors.
I included a close-up of my design so you can use it as a reference. You are also welcome to print it then cut it. If you do this, please make sure the mouth is the size you want before pressing print. It’s possible that it may print waaayy too big, if you do not adjust it.
Drawing the smile with a black sharpie is also an option. It's easier, but doesn't look as put together as the paper version.

Attach the Pieces
Using double-sided tape or a glue roller, attach one black circle to one white circle.
Do the same for the second set of circles.


Using double-sided tape or a glue roller, attach the completed eyes, red nose, and black mouth to the brown paper bag.
I prefer to use a glue roller to paste the mouth onto the bag. It ensures that the entire smile is adhered to the bag. No free edges sticking up.


DIY Reindeer Antlers
Take two brown pipe cleaners. Cut about 3 inches off of one end of each. Put all the pieces to the side.
Take 4 brown pipe cleaners, bend them in half, and cut. You should now have 8 pieces that are around 6 inches in length.
Put 4 of the 6-inch pieces to the side. Take the other 4 pieces, bend them in half, and cut at the bend. You should now have 8 pieces that are around 3 inches long (10 pieces if you include the pieces from the first cutting step).
How to Assemble
1. Take 1 of the long pipe cleaners (9 inches).
At about 2 inches from one end, wrap a 6-inch pipe cleaner. Wrap it around 6-7 times. Have both sides end on one side of the main (9 inch) pipe cleaner.
2. At about an inch below where you wrapped the last 6-inch pipe cleaner, wrap another 6-inch pipe cleaner. Twist it around 6-7 times.

3. Take 1 of the smallest pipe cleaners (3 inches) and wrap it around one side of the wrapped 6-inch pipe cleaner. I almost said "one end", but it should be about an inch from the actual end of the pipe cleaner. I chose to wrap it around the top right piece.
4. Wrap 1 of the 3-inch pipe cleaners around one side of a different attached 6-inch pipe cleaner. I chose the bottom right one. Once again, wrap it about 1 inch from the actual end of the pipe cleaner.
5. Wrap 1 of the 3-inch pipe cleaners around one side of a wrapped 3-inch pipe cleaner. I chose the top piece of the bottom right pipe cleaner... if that makes sense. Please see the photo below, labeled number 5.
6. Wrap 1 of the 3-inch pipe cleaners around the original 9-inch pipe cleaner. It is the second piece from the bottom on the left.

7. Repeat steps 1-6 to make a second reindeer antler out of pipecleaner.
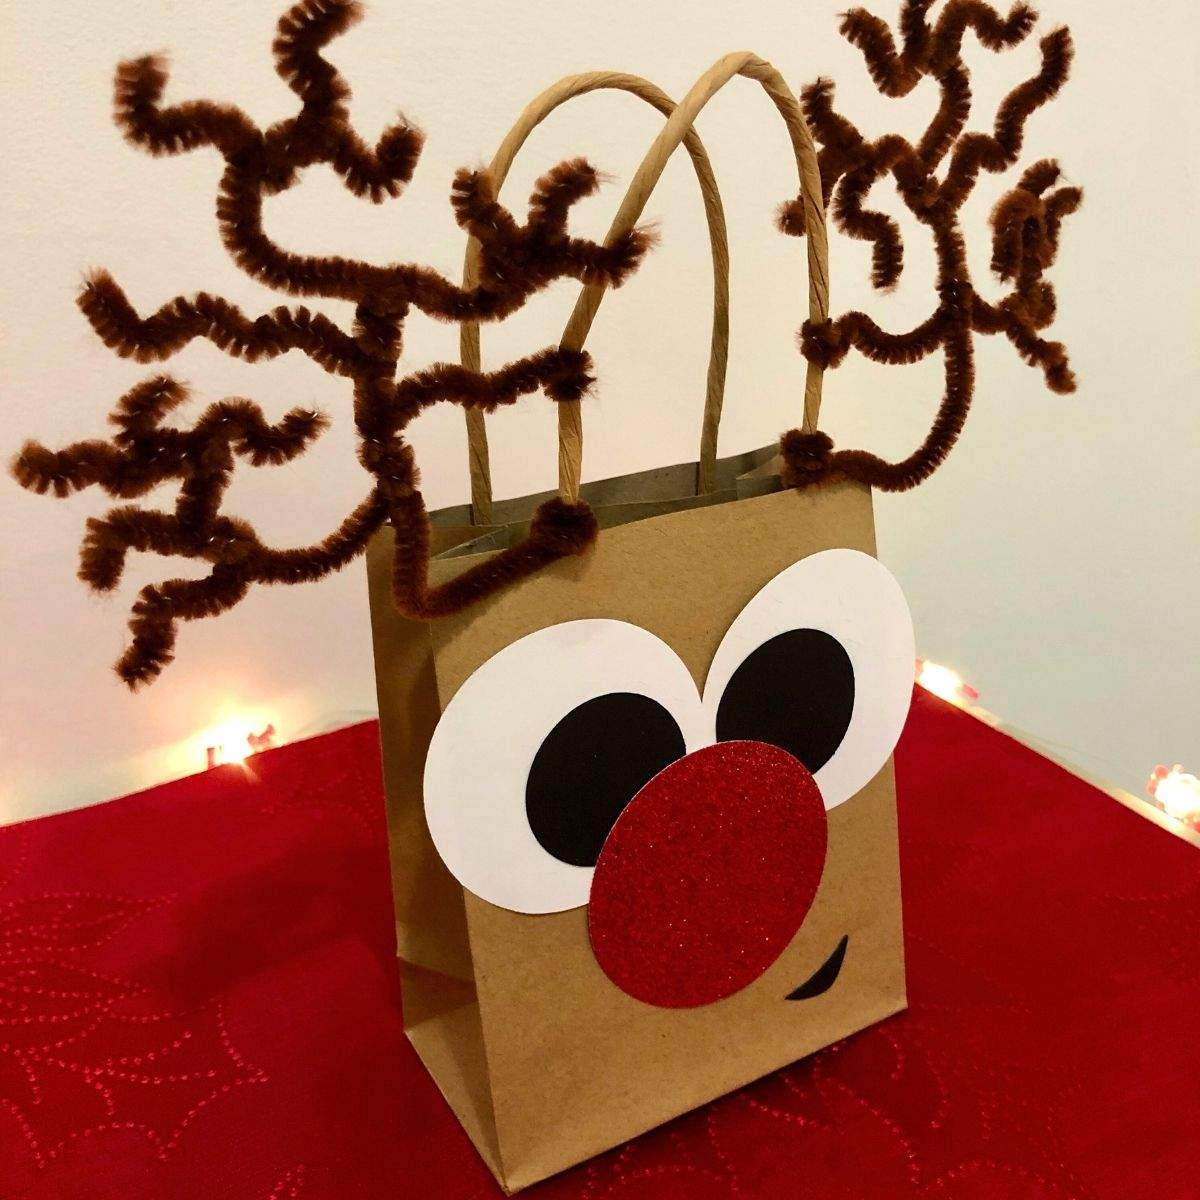
8. Bend and twist the pipe cleaners to look like antlers. Play around with them until you like how they look.

Attach to the Bag
Take 1 completed antler.
Wrap the bottom (well, several inches from the bottom. This depends on your desired look and the size of your bag. You should have more than enough pipe cleaner for all sizes) around one side of the front handle of the brown bag.

I also wrap the singular pipe cleaner of the antlers (bottom left) around the middle to top side of the handle. This is to secure the antlers in place.

Repeat on the other side so your reindeer gift bag has two adorable antlers.
Christmas Goodie Bag Ideas
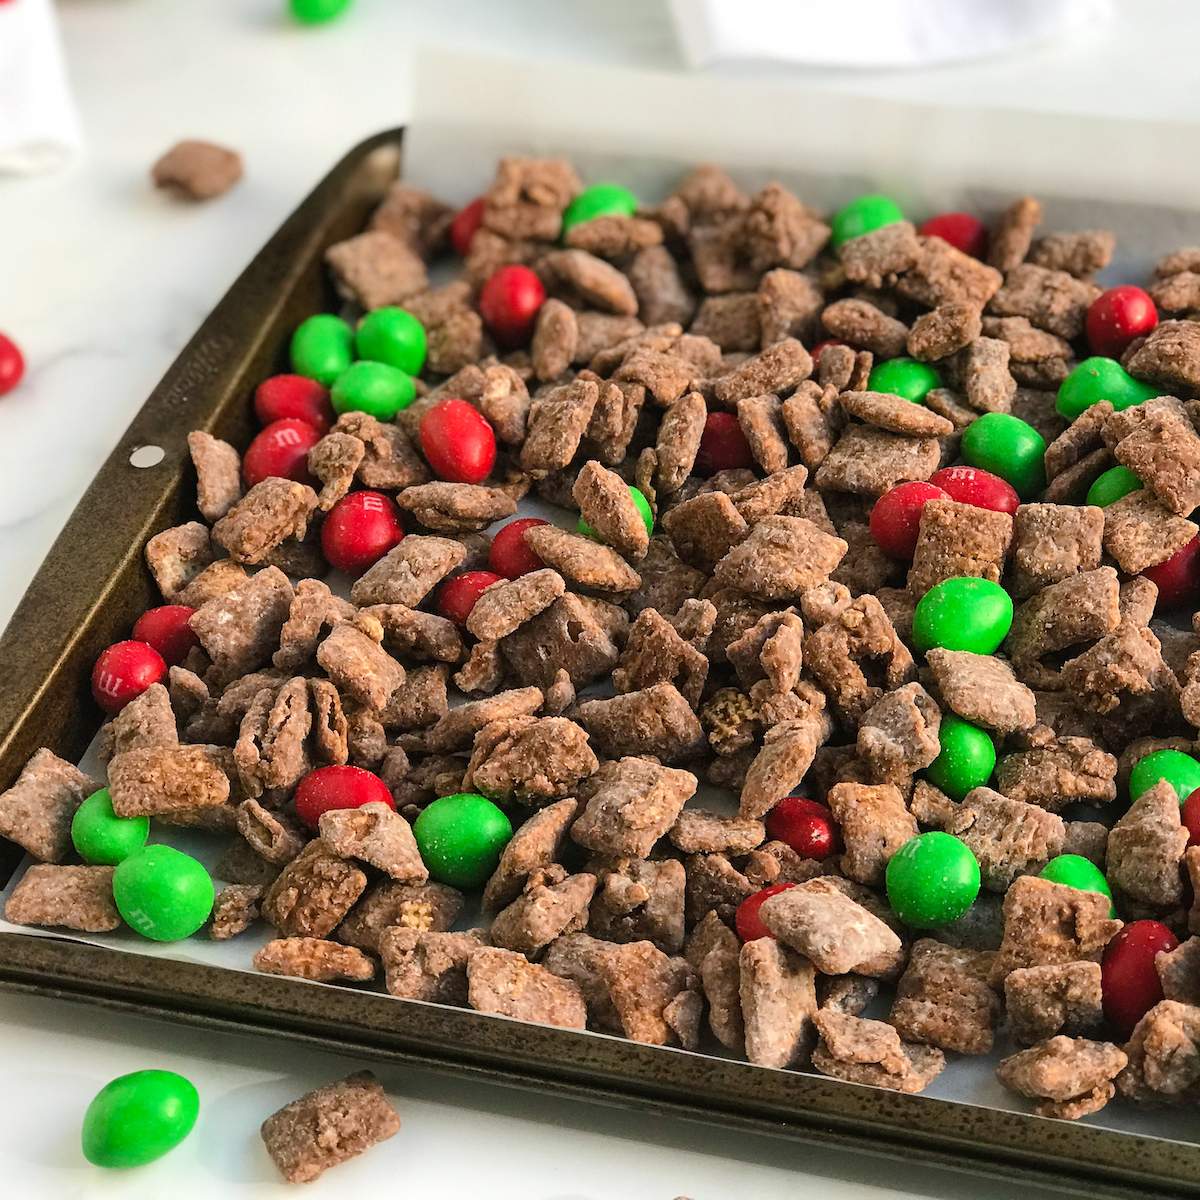
These easy DIY reindeer gift bags can be stuffed with a variety of different things, like candy, small toys, temporary tattoos, stickers, stationery, lip balm, mini candles, and so much more.
Packets of hot chocolate with a bag of marshmallows is also a cute, inexpensive idea.
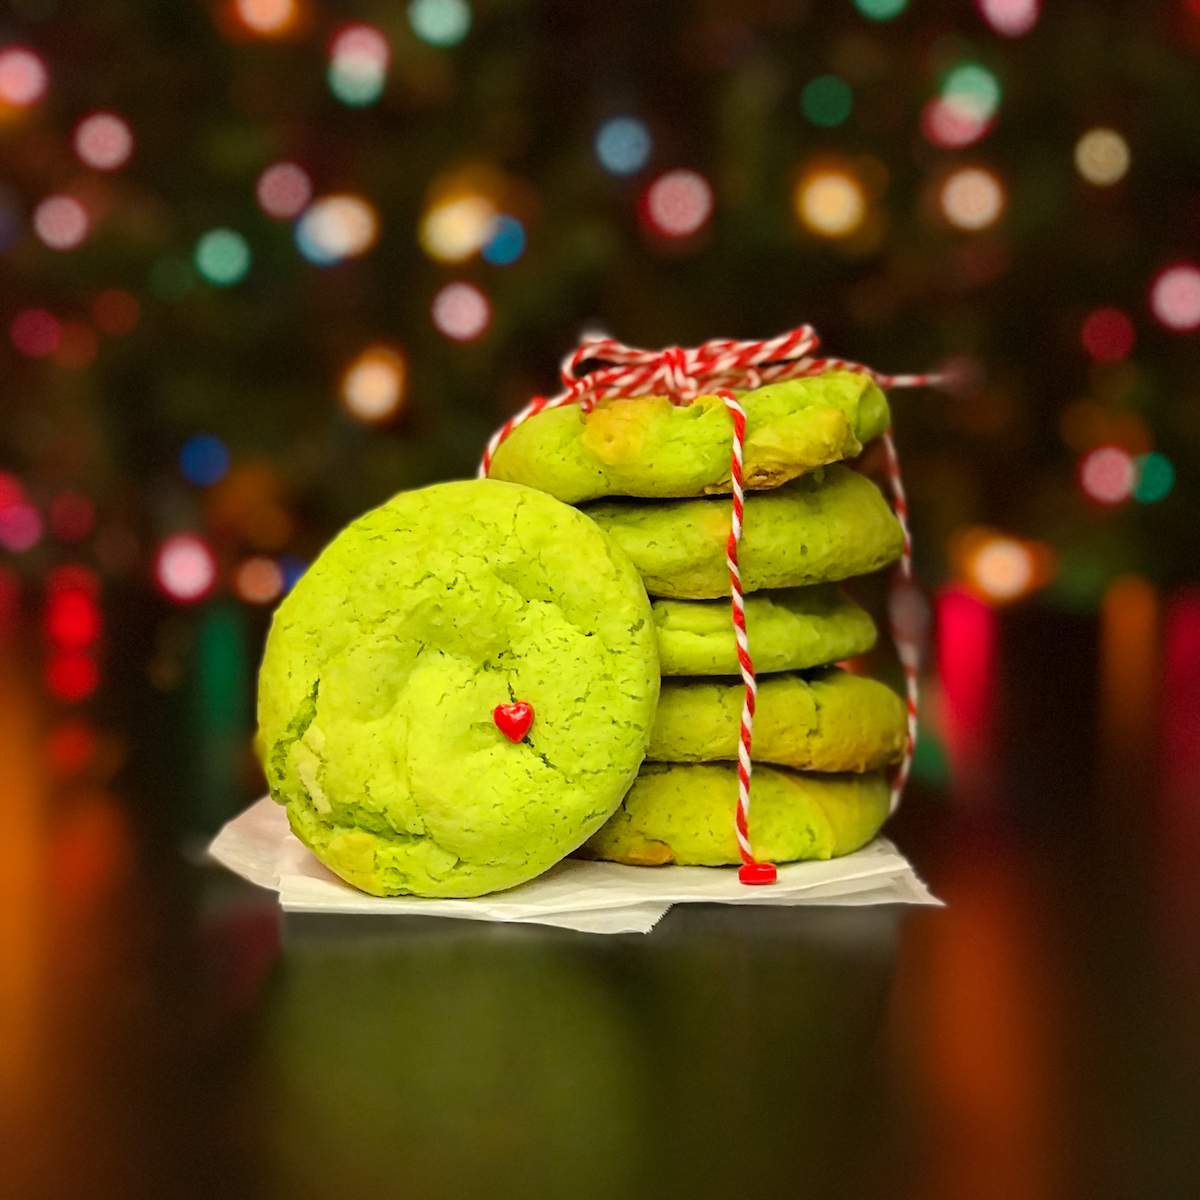
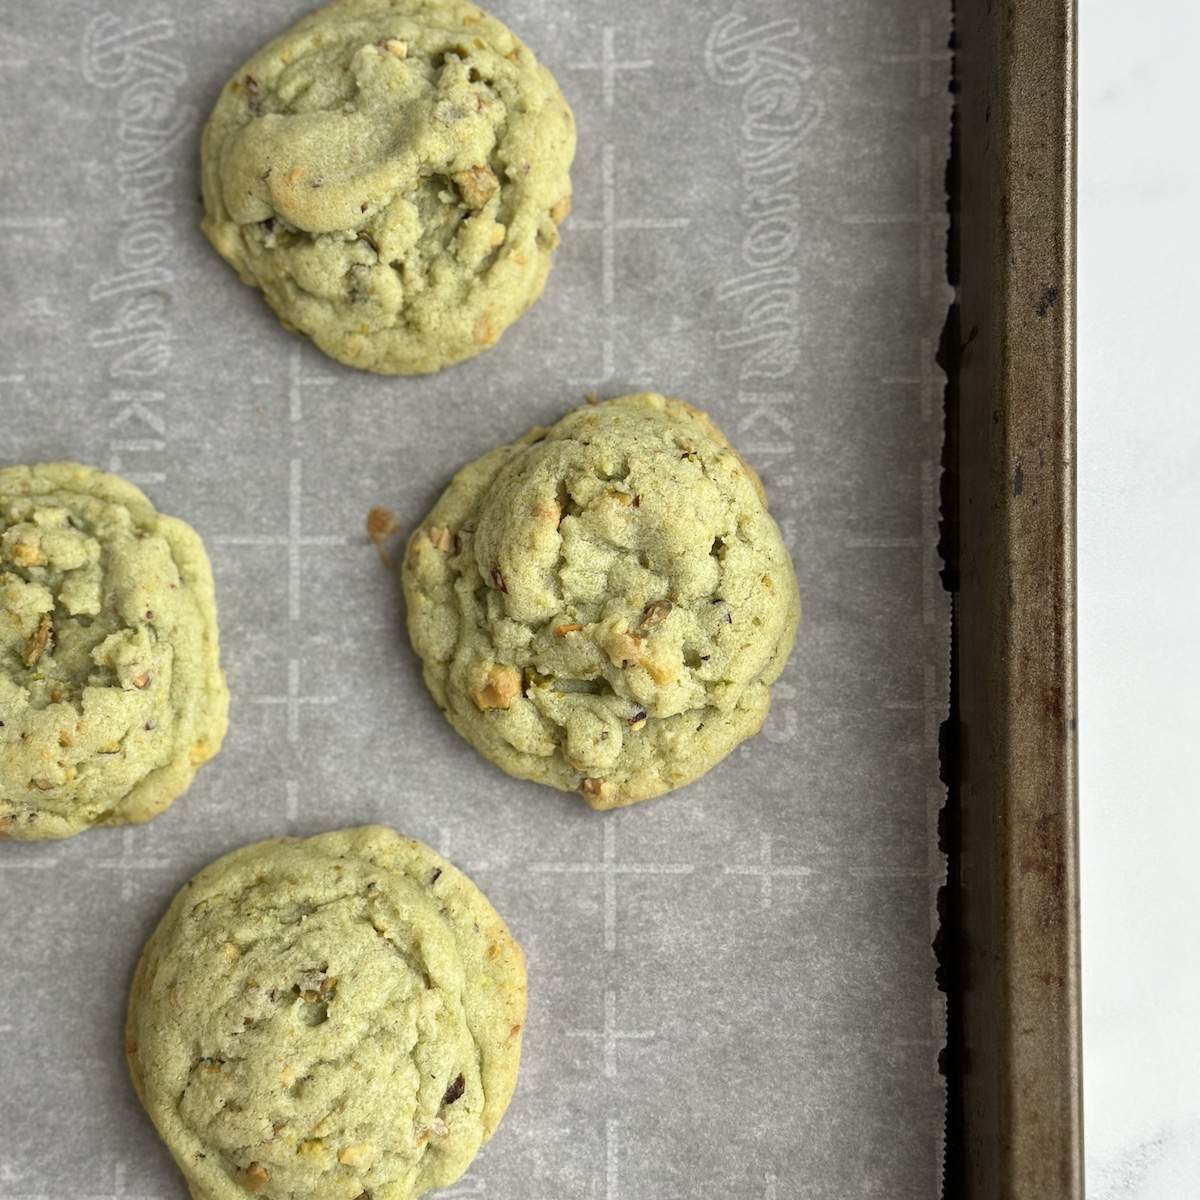
Homemade cookies, like these Hot Cocoa Cookies (that are made with real hot chocolate mix), can also be carefully wrapped and added to these reindeer bags for gifts.
Other possible holiday cookies to include are these Grinch Cookies or these Snickerdoodle Cake Mix Cookies.

Other budget-friendly, handmade crafts that would make easy goodie bag stuffers are these Christmas Pretzel Rods and these DIY Reindeer Candy Canes.
There were a few years when I couldn't afford Christmas gifts for my loved ones. I made personalized, homemade ornaments for them, wrapped them in festive tissue paper, and put them in these DIY reindeer bags as gifts.
A lot of my family and friends still have the ornaments that I made using the recipes and techniques in DIY Cinnamon Salt Dough Ornaments (No Applesauce) and How to Make Salt Dough Ornaments (and Handprints).
I've even been asked to make certain ornaments again, that little kids destroyed or dogs ate, because they meant that much to them. 🥰

Easy DIY Reindeer Gift Bags
Equipment
- 1 Pair of Scissors precision or detail
Materials
- 1 Paper Bag brown
- 1 sheet Cardstock red glitter
- 1 sheet Cardstock white
- 1 sheet Cardstock black
- Glue and/or Double-sided Tape
- 6 Pipe Cleaners brown
Instructions
Preparation for the Reindeer's Face
- Cut two circles out of the sheet of white cardstock with the 2.5-inch hole puncher.
- Use the 2.5-inch hole punch again to cut one circle out of the red glitter cardstock.
- Cut two circles out of the black cardstock with the 1.5-inch hole puncher.
- Sketch or trace the reindeer's smile on the leftover sheet of black cardstock.
- Cut out the black smile.
Assembly of the Reindeer's Face
- With double-sided tape or glue, attach one black circle to one white circle near one side to create an eye.
- Do the same with the other black circle and white circle to make another eye for the Reindeer Bag.
- Using double-sided tape or glue, attach the completed eyes, red glitter nose, and small black smile to the brown kraft bag.
Preparation of the Antlers
- Take two brown pipe cleaners. Cut about 3 inches off the end of each. Put all the pieces to the side.
- Take 4 brown pipe cleaners, bend them in half, and cut. You should now have 8 pieces that are around 6 inches in length.
- Put 4 of the 6-inch pieces to the side. Take the other 4 pieces, bend them in half, and cut at the bend. You should now have 8 pieces that are around 3 inches long (10 pieces if you include the pieces from the first cutting step in this preparation section).
How to Make Antlers
- Take 1 of the long pipe cleaners (9 inches). At about 2 inches from one end, wrap a 6-inch pipe cleaner. Wrap it around 6-7 times. Have both sides end on the same side of the main (9-inch) pipe cleaner.
- At about an inch below where you wrapped the last 6-inch pipe cleaner, wrap another 6-inch pipe cleaner. Twist it around 6-7 times.
- Take 1 of the smallest pipe cleaners (3 inches) and wrap it around one side of the wrapped 6-inch pipe cleaner. I almost said "one end", but it should be about an inch from the actual end of the pipe cleaner. I chose to wrap it around the top right piece.
- Wrap 1 of the 3-inch pipe cleaners around one side of a different attached 6-inch pipe cleaner. I chose the bottom right one. Once again, wrap it about 1 inch from the actual end of the pipe cleaner.
- Wrap 1 of the 3-inch pipe cleaners around one side of a wrapped 3-inch pipe cleaner. I chose the top piece of the bottom right pipe cleaner.
- Wrap 1 of the 3-inch pipe cleaners around the original 9-inch pipe cleaner. It is the second piece from the bottom on the left.
- Repeat the previous steps in this section to make a second antler for the reindeer bag.
- Bend and twist the pipe cleaners to look like antlers. Play around with them until you like how they look.
Attach the Antlers to the Bag
- Take 1 completed antler. Wrap the bottom (well, several inches from the bottom. This depends on your desired look and the size of your bag. You should have more than enough pipe cleaner for all sizes) around one side of the front handle of the brown bag.
- Wrap the singular pipe cleaner of the antlers (bottom left) around the middle to top side of the handle. This action secures the antlers in place.
- Repeat the last two steps on the other side of your bag handle with the other completed antler.

Cynthia Gatewood says
Great reindeer gift bags!